

Setting up JCreator
| 1. | If JCreator isn't already running, find its icon on your desk stop and launch it. |  |
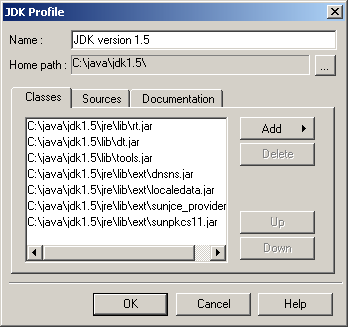
| 2. | In the menus, choose Configure and then Options.... A
dialog, similar to the one shown will appear.
|
 |
| 3. | We need to add the files in the Robots directory to this dialog box. With the Classes tab selected,
click on the Add button. A menu will appear with two options. Choose
Add Archive.... |
 |
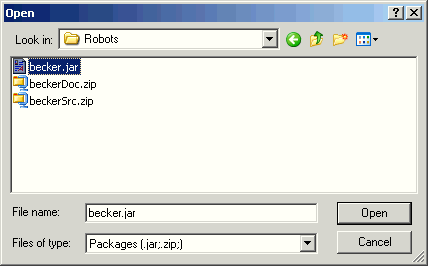
| 4. | Navigate to the Robots folder you copied from the CD to your java directory. Select the file
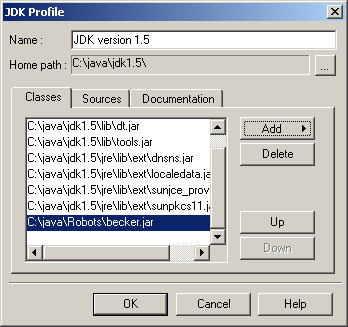
named becker.jar and click Open.You'll return to the dialog box shown in step 3, but now an extra path will appear at the bottom of the list. |
  |
| 5. | Select the Sources tab in the same dialog box. Once again,
click on Add and choose the Add Archive... option. Navigate to
the same directory as in Step 4, but this time choose the file named beckerSrc.zip and click Open. The result should appear as shown. |
 |
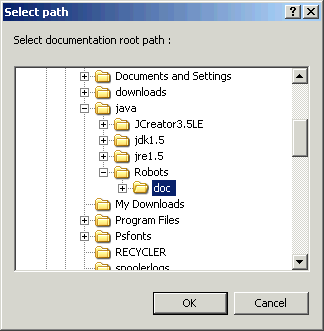
| 6. | Select the Documentation tab in the same dialog box. Once
again, click on theAdd button (no sub-menu this time!). Navigate to the Robots directory and select doc. |
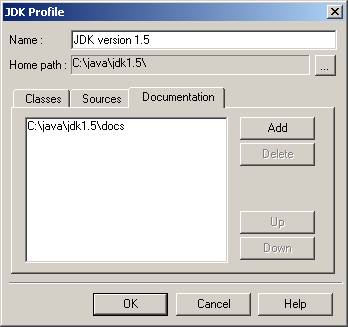  |
| 7. | Click OK. You'll return to the Documentation tab, but with one more line of text shown. Click OK to exit this dialog. | 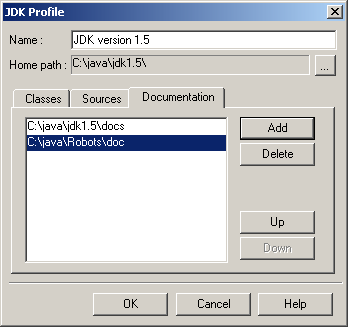 |
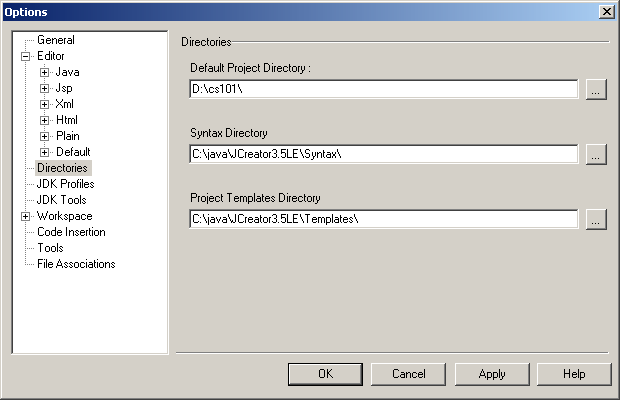
| 8. | You will return to the Options dialog. Click on the
Directories item in the left pane. In the top textfield, labeled
Default Project Directory, type the name of the folder where you want to
keep the Java projects you work on. You can also use the Browse button
to find and/or create such a directory. Click the OK button. Then exit JCreator. |
 |
| 9. | In Windows Explorer, navigate to your Java directory (C:\java\). Look in the Robots folder, and then the examples folder. In the directory ch01 you'll find the file ch01.jcw. Double-click it. |
 |
| 10. | JCreator should open, as shown here. This workspace contains all of the examples from Chapter 1 of the textbook. | 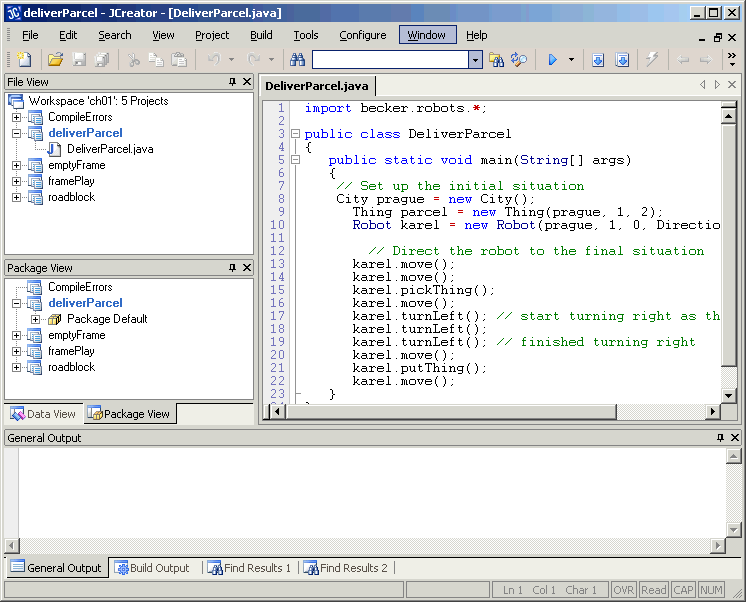 |
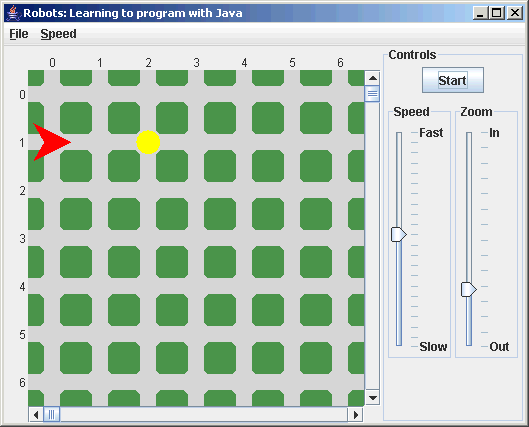
| 11. | To run a robot program:
|
 |
Contact: bwbecker@learningwithrobots.com.