Install the Java Development Kit (JDK)
The Java Development Kit or JDK is the software that allows us to develop and run Java programs. Click the image if you need to see a full-sized version.
The following steps will create a directory (folder) on your disk where
all your Java-related software will be placed. In the following steps, we will
assume a directory on your C: drive named java. If you choose a different place or name, you must be very
careful to use your name wherever you see C:\java throughout the installation.
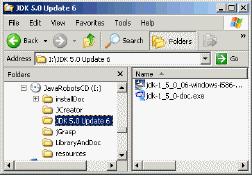
| 1. | Find the JDK installation files on the CD. They're inside a
directory (folder) named JDK 5.0 Update 6. The file has the name jdk-1_5_0_06-windows-i586-p.exe.Remember that you can click on each of the images on this page to see a full-size version. |
 |
| 2. | Double-click the file to begin installation. A splash screen will show for a while and then you'll be shown a licence agreement. If you want to learn Java, you must click I accept and the Next button. | 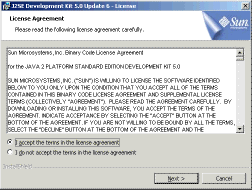 |
| 3. | This screen allows you to customize your installation.
|
 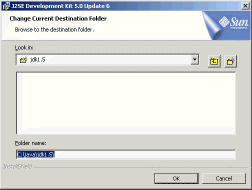 |
| 4. | Click Next. A progress screen will show for quite a while. It may take several minutes to fully install the software. | 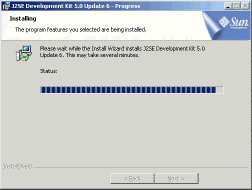 |
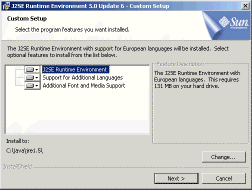
| 5. | You will be asked to install the Java Runtime Environment. Notice
that the screen is almost identical to the one in step 3. As we did there,
accept the default settings except for the installation directory. Click the
Change... button and change the Folder name: field to C:\java\jre1.5\. Note that this name contains jre whereas the name entered in
step 3 contains jdk. Click OK to come back to this screen. Then click Next. |
 |
| 6. | This is your opportunity to register your Web browser with the new version of Java, enabling applets to run with the new software. Leave all of the browsers listed selected, then click Next. | 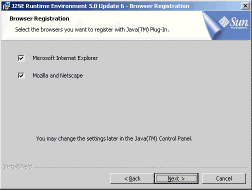 |
| 7. | You will again be shown a progress screen while software is installed. | 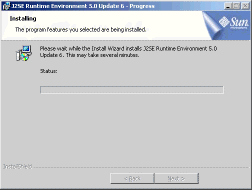 |
| 8. | Eventually, you will be shown a completion screen. Click Finish. |  |
| 9. | Installing the documentation for the JDK is, strictly speaking,
optional. You'll be grateful for it in the later part of the book, so you may
as well do it now. Go back to the CD and find the file jdk-1_5_0-doc.exe inside the directory named JDK 5.0 Update 6. Double-click on it to open it. |
 |
| 10. | It should already have C:\java\jdk1.5\ filled in the textfield labeled Unzip to folder. If you chose a
different place to store the JDK, type it in or use the Browse button to
go find it. Then click the Unzip button. A progress bar will appear at
the bottom. This may take several minutes.When the completion message is shown, click OK and then Close on the dialog shown above. |
  |
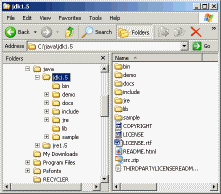
| 11. | You're done installing the JDK! Just as a double-check, take a look
at the directory where you installed it, C:\java\jdk1.5\. It should look like the one shown here.You're now ready to install an IDE. |
 |
Contact: bwbecker@learningwithrobots.com.

