- If you have the Robots CD, look on the CD inside a
directory (folder) named JCreator. The file is named
JCreatorSetup.exe. - Go to http://www.jcreator.com/
and navigate to their downloads section.
- Download the latest version, saving it to your disk. At the time of this writing there is a free version and a "pro" version. You can try out the pro version for free, but will eventually need to purchase it. The version on the CD is the free version.
- Unzip the downloaded file to a temporary
directory. Find
Setup.exe.

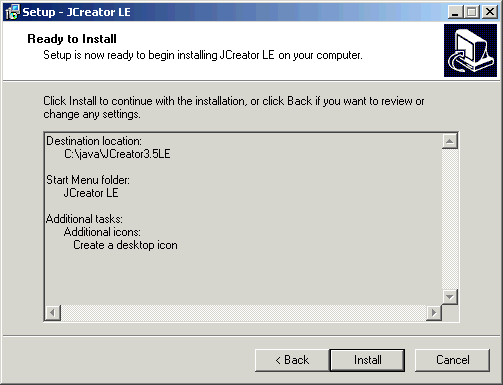
Setup.exe. Double-click it. Click Next.
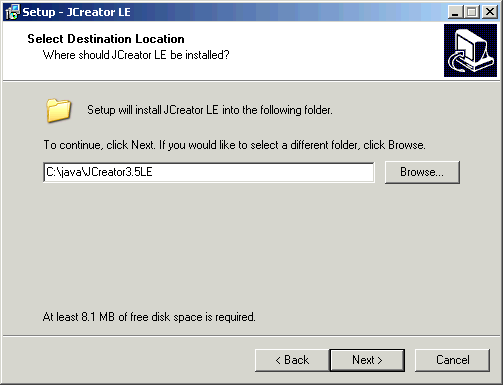
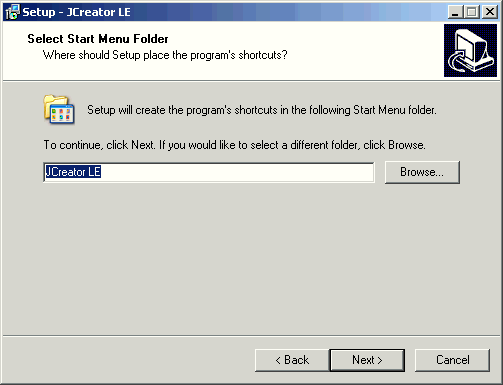
C:\java\JCreator3.5LE, can be typed into the
textbox directly. If you chose to download the "pro"
version, you should change the "LE" to "Pro".Click Next. You will likely be shown a dialog box stating that the directory doesn't exist. Click Yes.
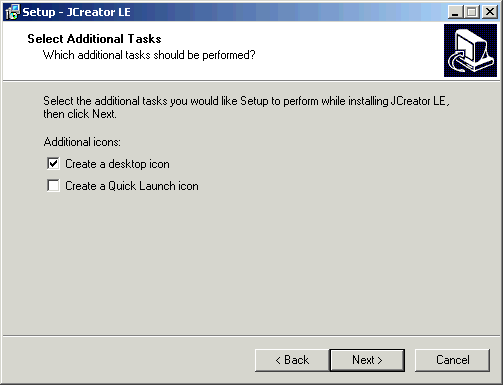
The first question is about file associations. It wants to know if you want JCreator to launch when you double-click a file ending in
.java, for example. The
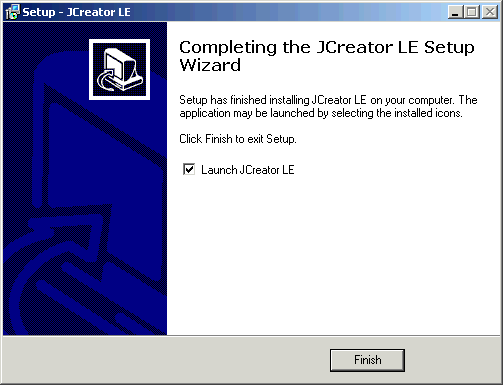
defaults are all fine choices. Click Finish.


- Create a directory for Jacobe. Download the program from here to your specified directory. Unzip it to install.
- Download the configuration file to match the textbook, robots.cfg. Save it in the directory you created.
- Launch JCreator. On the Configure menu, choose Options.
- Click on "Tools" in the left pane.
- Click "New" and choose "Program".
- In the resulting dialog box, browse to the folder containing the Jacobe program. Select jacobe.exe and click "Open".
- "Jacobe" should now be listed as one of the tools.

- The list of configuration options in the left pane should now have a plus sign beside "Tools". Click on it, if necessary, to expose the list of tools. That list should include "Jacobe". Select it.
- Configure the tool as shown in the image:
- Commands: This should already be filled in with the path to the jacobe program.
- Arguments: -cfgpath to robots.cfg -overwrite $[FilePath]
- Initial Directory: leave blank
- Check the following:
- Save all documents first
- Capture output
- Show command line
- Click "OK".

- Reformat your source code by choosing "Jacobe" from the "Tools" menu.
- If all goes well, JCreator will show a dialog box
saying that the source code has changed and ask if you
want to reload it. Click "Yes".
If your code contains errors, Jacobe may not be able to reformat it. The error message in JCreator's "General Output" window may help you locate the error. Alternatively, simply compile the program to find the errors.
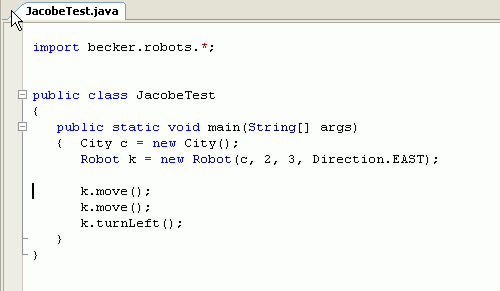
- The result on a small file is shown to the right.

After: