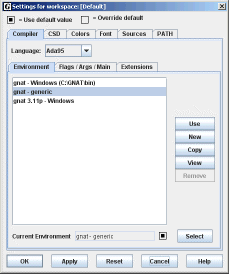
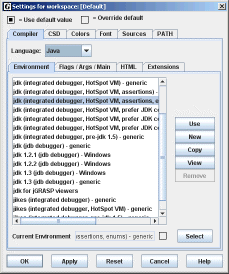
- From the drop-down menu labelled Language, choose Java.
- In the long list in the center of the dialog box, select the line that says jdk (integrated debugger, HotSpot VM, assertions, enums) - generic. You may draw the right side of the dialog box to make it wider, enabling you to see the entire lines in the central pane.
- Click the Use button.
- Verify that your dialog box now looks like the one shown on the right.
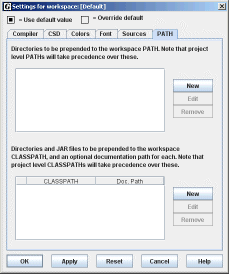
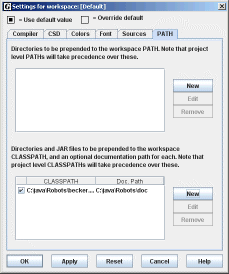
- Either type in
C:\java\Robots\becker.jarin the top textfield or use the Browse button to find it. - Either type in
C:\java\Robots\doc\in the bottom textfield or use the Browse button to find it.

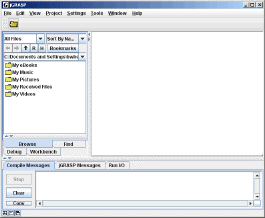
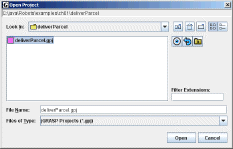
C:\java\Robots\examples\ch01\deliverParcel\. Select the file named deliverParcel.gpj and click
Open.An Open Projects pane will be added to the left side of the display.
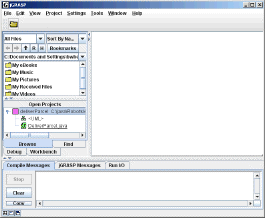
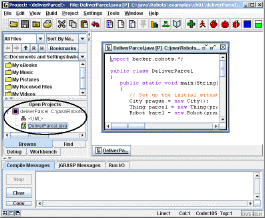
- Click the compile button,
 , to
compile the program. An alternative to to choose Compile from the
Build menu.
 - Click the run button,
 , to
run the program. An alternative is to choose Run from the Build
menu.
