How to Install Visual Studio 2019 For Windows:
First, go to https://www.visualstudio.com/. From there you’ll need to find and download the installer for Visual Studio 2019. This should download very quickly because it’s tiny – about 1 MB.
Once you run the installer you’ll then see this window. You should click the “.Net
Core cross-platform development” option, in the orange box below:
(Note that
.Net 5 is scheduled to come out in November of 2020, and .Net 5 will be the next
version of .Net Core. So if you've got the option of installing .Net 5
definitely install .Net 5!)
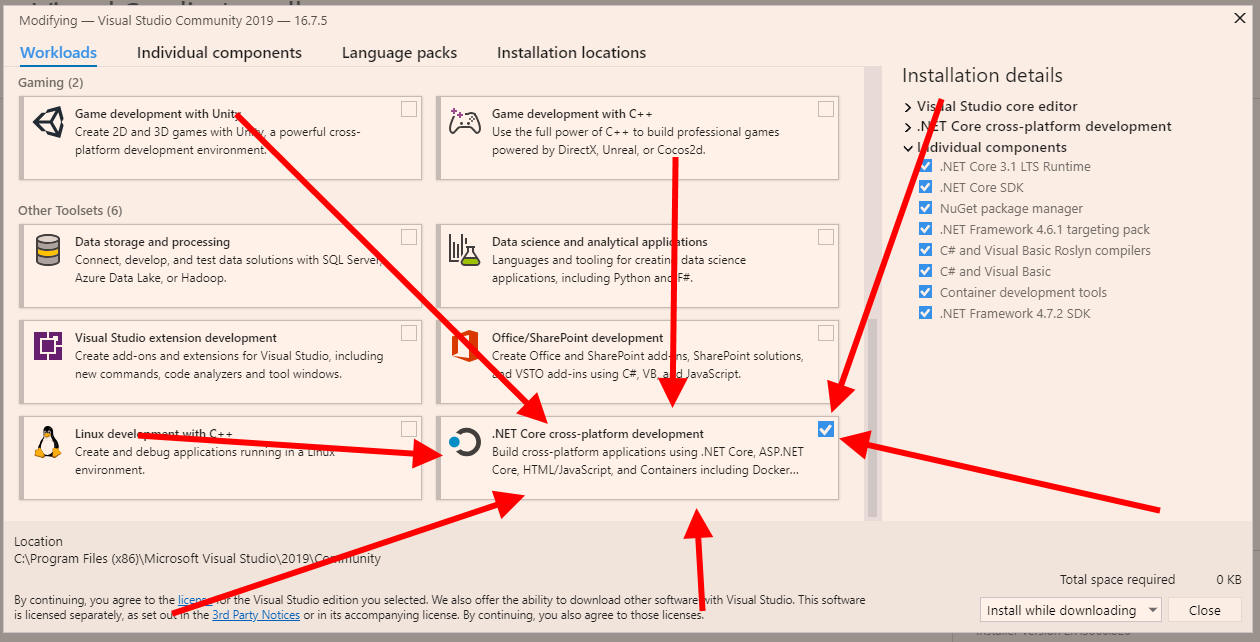
(If you wish to asdd any other options that’s fine. If you want to add any other packages from the left-hand list you can do that too, although we won’t be using any of them in this class)
If you’re interested in a more detailed list of what you’ll be installing you can try clicking on the ‘Individual Components’ tab at the top. Feel free to look around here, but be careful not to change anything:

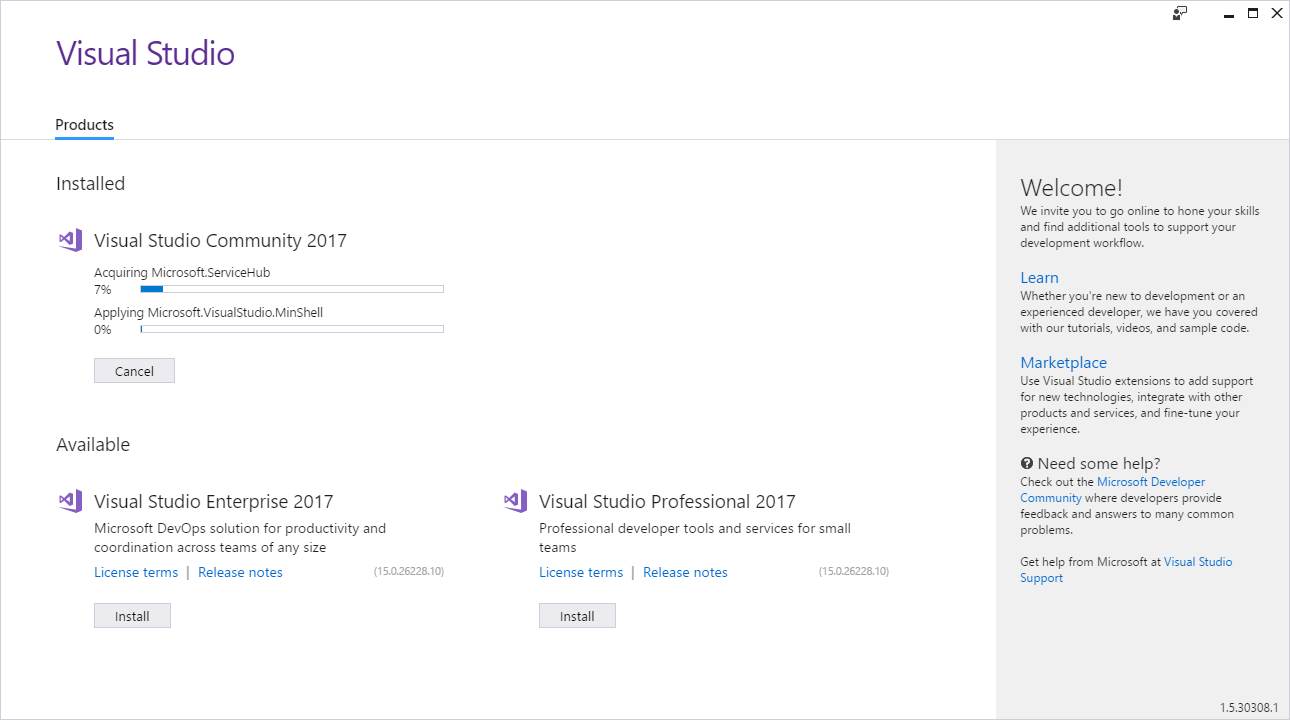
Once you click the ‘Install’ button (in the lower-left hand corner), you’ll see the installer working:
Once you’ve installed it you should run it.
The first thing you’ll see is:
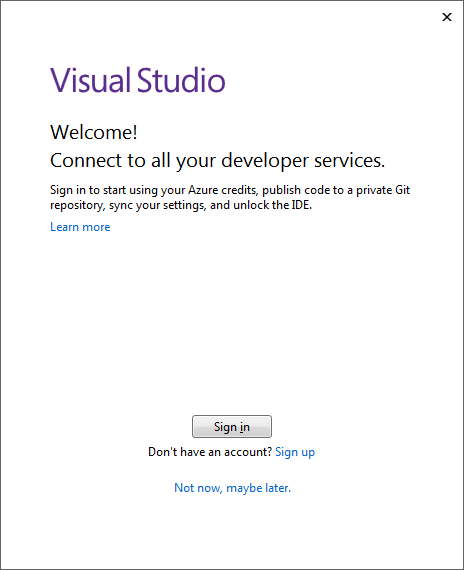
It’s good to create an account to use Visual Studio. I believe that if you don’t create an account Visual Studio will eventually refuse to start (until you sign in with an account) so you may as well create the account now.
Once you’ve signed in you should be able to create new C#, console-based projects and/or open any starter projects that the instructor provides to you.